How to iron utility kilt
Introduction
Brief Overview of Utility Kilts and Their Popularity
Utility kilts, a modern twist on the traditional Scottish garment, have surged in popularity for their versatility and rugged style. Unlike their more formal counterparts, utility kilts are designed for practicality and comfort, making them a staple in various subcultures and everyday wear. However, to truly embody the essence of this unique garment, maintaining a crisp and well-ironed appearance is essential.
Importance of Maintaining a Well-Ironed Appearance
The allure of a utility kilt lies not just in its functionality but also in its aesthetic appeal. A well-ironed kilt not only exudes a sense of professionalism but also showcases the wearer’s attention to detail. The pleats, a distinctive feature of the kilt, come to life when properly ironed, creating a polished and put-together look. Whether worn for a casual day out or a special event, a properly ironed utility kilt elevates the wearer’s style quotient.
Providing a Step-by-Step Guide on How to Iron a Utility Kilt
In this comprehensive guide, we will delve into the intricacies of ironing a utility kilt to perfection. From gathering the necessary materials to mastering the art of pleat ironing, each step is crafted with precision to ensure that enthusiasts and newcomers alike can confidently maintain the impeccable appearance of their utility kilts. Let’s embark on this journey to unlock the secrets of achieving a seamlessly ironed utility kilt.
Gathering Your Materials
When it comes to achieving that polished and put-together look with your utility kilt, having the right materials on hand is the first step toward success. Let’s delve into the indispensable items that will make the ironing process smooth and effective.
-
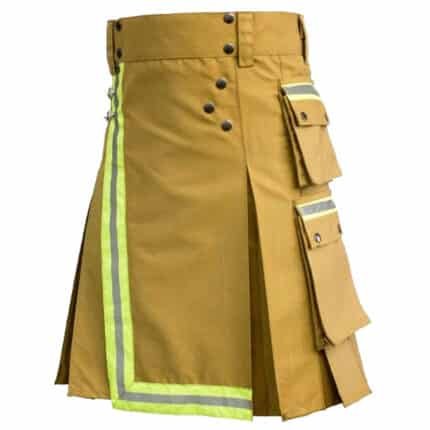
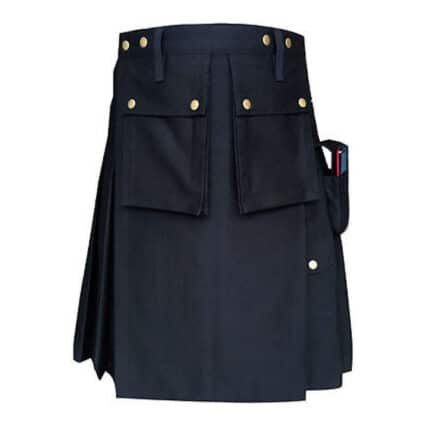
Cargo Style Firefighter Kilt
Original price was: $100.00.$80.00Current price is: $80.00. -
Cargo Work Kilt Men
Original price was: $100.00.$80.00Current price is: $80.00. -
Carhartt Work kilt
Original price was: $89.00.$75.00Current price is: $75.00. -
Classic Black Leather Kilt
Original price was: $180.00.$150.00Current price is: $150.00. -
Classic Blue Utility Kilt
Original price was: $120.00.$79.00Current price is: $79.00. -
Classic Khaki Utility Kilt For Men
Original price was: $120.00.$89.00Current price is: $89.00. -
Craftsman Kilt
Original price was: $89.00.$75.00Current price is: $75.00. -
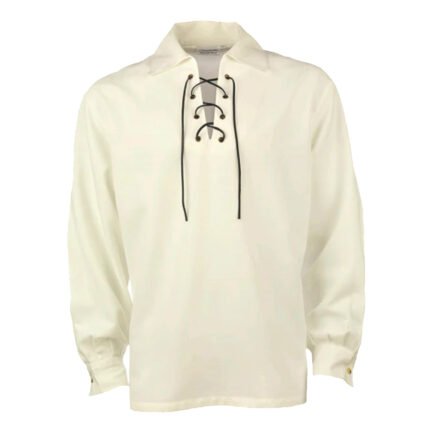
Cream Jacobite Ghillie Kilt Shirt
Original price was: $49.00.$39.00Current price is: $39.00. -
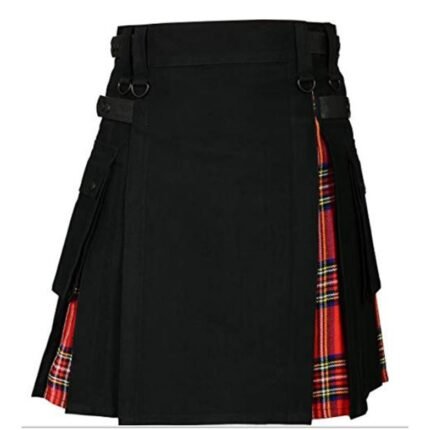
Custom Made Hybrid Utility Kilt
Original price was: $120.00.$89.00Current price is: $89.00.
Utility Kilt
The star of the show, your utility kilt, lays the foundation for a crisp and refined appearance. Before diving into the ironing process, take a moment to inspect the garment for any loose threads or embellishments that may require special attention during ironing.
Iron: Precision in Your Hands
Invest in a quality iron to ensure precision and control during the ironing process. Opt for an iron with variable temperature settings, allowing you to tailor the heat according to the fabric of your utility kilt. A well-maintained iron guarantees even heat distribution, preventing accidental burns or uneven press marks.
Ironing Board: A Stable Surface for Perfection
The importance of a sturdy ironing board cannot be overstated. Choose one with a smooth, padded surface to provide the necessary support and prevent imprints or damage to the fabric. A stable ironing board creates a conducive environment for achieving those sharp pleats and a pristine apron.
Clean Cloth or Pressing Cloth:
Shield your utility kilt from direct heat and potential water stains by using a clean cloth or pressing cloth. This protective layer not only prevents the iron from coming into direct contact with the fabric but also aids in distributing heat evenly, ensuring a professional finish without compromising the integrity of the material.
Water Spray Bottle (if necessary):
For those persistent wrinkles that seem impervious to heat alone, a water spray bottle becomes your secret weapon. Lightly mist the problem areas before ironing to introduce a controlled amount of moisture, making it easier to smooth out even the toughest creases.
Preparing the Utility Kilt
When it comes to ironing your utility kilt, proper preparation is key to achieving a crisp and polished look. Follow these essential steps to ensure your kilt is ready for a flawless ironing session.
Check the Care Instructions
Before diving into the ironing process, it’s crucial to familiarize yourself with the care instructions provided by the manufacturer. Utility kilts can be made from various materials, each with its own set of care requirements. Check for specific guidelines related to temperature settings, fabric types, and any other recommendations. This initial step helps prevent accidental damage and ensures that you are treating your kilt with the care it deserves.
Empty Pockets and Remove Any Accessories or Belts
Prepare your utility kilt for ironing by removing all items from the pockets, including keys, coins, or any other objects that might create uneven pressure during ironing. Additionally, take off any accessories, such as decorative pins or belts. This not only facilitates a smoother ironing process but also protects both the kilt and your accessories from potential damage. Paying attention to these details demonstrates a commitment to precision and care in maintaining your kilt.
Lay the Kilt Flat on a Clean Surface
Once you’ve ensured that your utility kilt is free of items and accessories, find a clean and flat surface to lay it out. A spacious ironing board is ideal, but any clean surface large enough to accommodate the entire kilt will suffice. Smooth out any wrinkles or folds in the fabric, allowing for a uniform surface that’s ready for the iron. Taking the time to properly lay out your kilt reflects a dedication to detail and sets the foundation for a successful ironing experience.
Setting Up the Iron for Perfect Results
Ironing a utility kilt is a delicate process that demands precision and care. Before diving into the intricate details of the ironing technique, it’s imperative to set up your iron correctly. This step lays the foundation for achieving that crisp, polished look that every kilt wearer desires.
Ensure the Iron is Immaculate
Begin by inspecting your iron. A clean iron surface is paramount to prevent any unwanted stains or residue transferring onto your utility kilt. Wipe the soleplate with a damp cloth if necessary, ensuring it’s free from any lingering particles. A pristine iron guarantees a smooth glide over the fabric, minimizing the risk of damage.
Temperature Adjustment: A Fabric-Specific Approach
Utility kilts come in various fabrics, each with its unique characteristics. To safeguard your kilt from potential heat damage, adjust the iron’s temperature accordingly. Consult the care label or manufacturer’s instructions to identify the fabric composition. For instance, cotton kilts generally require a higher temperature setting, while synthetic blends may demand a more moderate heat. This tailored approach ensures effective wrinkle removal without compromising the fabric’s integrity.
Harnessing the Power of Steam
Steam can be a valuable ally in the quest for a well-pressed utility kilt. If your iron is equipped with a steam function, take advantage of it. Before starting, fill the water reservoir to the recommended level. Steam not only aids in releasing tough wrinkles but also adds a finishing touch, imparting a fresh and polished appearance to the fabric. However, exercise caution and avoid over-saturation, as excessive steam can lead to dampness and prolonged drying times.
Ironing Techniques
Ironing a utility kilt requires a delicate touch to ensure a crisp, polished appearance without compromising the fabric or any embellishments. Mastering the art of ironing involves a systematic approach, beginning with the distinctive features of the kilt.
Pleats Precision
When embarking on the ironing journey, it’s crucial to start with the pleats. Each pleat deserves individual attention. Lay the pleat flat and run the iron gently along its length. Applying a methodical approach not only guarantees a refined look but also preserves the integrity of the fabric.
To safeguard the kilt material, utilize a clean cloth as a protective barrier between the iron and the fabric. This precautionary measure prevents direct contact, ensuring that the heat is evenly distributed without causing any damage or unwanted shine to the material.
Meticulous Apron Care
Transitioning from the pleats to the apron requires a shift in technique. The apron, being a focal point of the utility kilt, demands careful handling. Iron in the direction of the fabric weave to maintain the garment’s natural flow. This not only aids in smoothing out wrinkles but also contributes to the longevity of the fabric.
Exercise caution around any decorative elements or embroidery on the apron. These intricate details require a gentle touch to avoid snagging or unintended alterations. Glide the iron smoothly, allowing it to work its magic while being mindful of the craftsmanship that makes the utility kilt unique.
Dealing with Tough Wrinkles
Utility kilts, while stylish and versatile, can sometimes present challenges when it comes to stubborn wrinkles. Here’s how you can handle them like a seasoned pro:
Utilize the Steam Setting
One of the most effective tools in your ironing arsenal is the steam setting. If your iron comes equipped with this feature, take full advantage of it. Steam can penetrate fabric fibers, relaxing them and making wrinkles easier to smooth out. Ensure that the water reservoir is filled, and activate the steam function according to the manufacturer’s instructions.
Lightly Spray Water on Stubborn Wrinkles
For wrinkles that refuse to yield, a strategic application of water can work wonders. Using a clean water spray bottle, lightly mist the affected areas of the utility kilt. Be cautious not to saturate the fabric; a fine mist is all you need. The moisture helps to loosen the fibers, making it easier for the iron to glide smoothly and eradicate those persistent wrinkles.
Apply Gentle Pressure While Ironing
Ironing is an art that requires finesse, especially when dealing with tough wrinkles. As you press the iron over the dampened or steamed areas, apply gentle pressure. The key is to exert just enough force to smoothen the fabric without causing damage. If your utility kilt features delicate details or embroidery, take extra care to avoid any unnecessary stress on those elements.
Turning the Kilt
When it comes to ironing a utility kilt, achieving a well-pressed finish requires attention to detail, and turning the kilt is a critical step in the process. This step ensures that both sides receive the necessary care and attention for a polished appearance.
Flip the Kilt to Iron the Other Side
Gently lift the utility kilt from the ironing board and flip it over to expose the reverse side. This action may seem straightforward, but it’s crucial for uniform wrinkle removal. By addressing both sides, you guarantee that the entire garment maintains a consistent and neat look.
Before moving on, take a moment to inspect the side you’ve just ironed. Ensure that the pleats are crisp, the fabric lays smoothly, and any decorative elements remain undamaged. Address any overlooked wrinkles or areas that need extra attention.
Repeat the Process for Both Pleats and the Apron
Once you’ve turned the kilt, return to the pleats and apron, repeating the ironing process. Start with the pleats, gently pressing the iron along the folds to maintain their distinctive appearance. Use a clean cloth or pressing cloth to protect the fabric, especially if it’s delicate or prone to shine.
Moving on to the apron, continue ironing in the direction of the fabric weave, paying close attention to any intricate details or embellishments. Be mindful of the temperature setting on your iron, adjusting it as needed based on the fabric type.
Remember, patience is key. Take the time to ensure each section receives adequate attention, addressing any wrinkles or creases as you go. A well-ironed utility kilt not only looks more refined but also prolongs the life of the garment by preventing fabric damage and maintaining its structural integrity.
Finishing Touches
After diligently ironing your utility kilt, the finishing touches are crucial to ensure a pristine and polished appearance. Follow these expert recommendations to complete the process with finesse.
Hang the Utility Kilt on a Hanger
Once you’ve meticulously ironed the pleats and apron, the next step is to hang your utility kilt on a sturdy hanger. Choose a hanger that allows the kilt to maintain its shape and prevents the pleats from flattening. Hanging the kilt facilitates the setting process, allowing the fabric to relax and settle into its newly pressed form.
Pro Tip: Avoid using thin wire hangers that can leave impressions on the fabric. Opt for broader, padded hangers to preserve the integrity of your utility kilt.
Double-Check for Any Missed Wrinkles or Creases
A discerning eye is the hallmark of a well-groomed appearance. Take a moment to inspect your utility kilt for any overlooked wrinkles or creases. This meticulous examination ensures that your kilt achieves a flawless finish. Pay special attention to the pleats and apron, and gently smooth out any imperfections with your hands.
Pro Tip: Use natural light or a well-lit room during this inspection to catch any subtle imperfections that might be missed in dim lighting.
Reattach Any Accessories or Belts
Completing the look involves reattaching any accessories or belts that you removed before ironing. Ensure that all buckles, chains, or decorative elements are securely fastened. This step not only adds the final touches to your ensemble but also ensures that every detail contributes to the overall aesthetic.
Pro Tip: Align any accessories symmetrically for a balanced appearance, and check for any wear or damage that may require maintenance.


